Packaged udon noodles are usually available at well-stocked Asian grocery stores and often in the international section of large supermarkets. In most cases, they’re just fine for cooking up a quick Japanese meal. Quality, texture, and taste can vary – but in my experience, even inexpensive, imported packaged udon noodles are enjoyable. You can also find dried udon noodles and boil them, but they’re never as thick, soft, and chewy.
Making your own fresh noodles is always superior in taste. It’s also fun – especially with kids – and only requires three ingredients you can find anywhere: flour, salt, and water.
This method and recipe is adapted from an udon workshop my friend Naoko attended in Japan. I had the chance to join a workshop myself in Takamatsu last year, but somehow there just wasn’t time – between local exploring, royal garden visits, temple treks, and cooking at the apartment. And to be honest, the fresh udon noodles in Japanese supermarkets are just so tempting, convenient, and delicious. I found myself cooking with them again and again – not only in Shikoku’s udon capital, but all across Japan.
I’ve made udon noodles with this recipe many times at home here in Berlin, and the results are always satisfying. As noted in the recipe, you can knead the dough with your hands – or more traditionally, with your feet!
Getting the dough texture just right, tweaking the water-to-flour ratio slightly, and cutting decent-looking noodles takes a bit of practice. (My first attempts were far from attractive!) Fortunately, even the sloppiest noodles still taste great – and making them is always a rewarding experience.
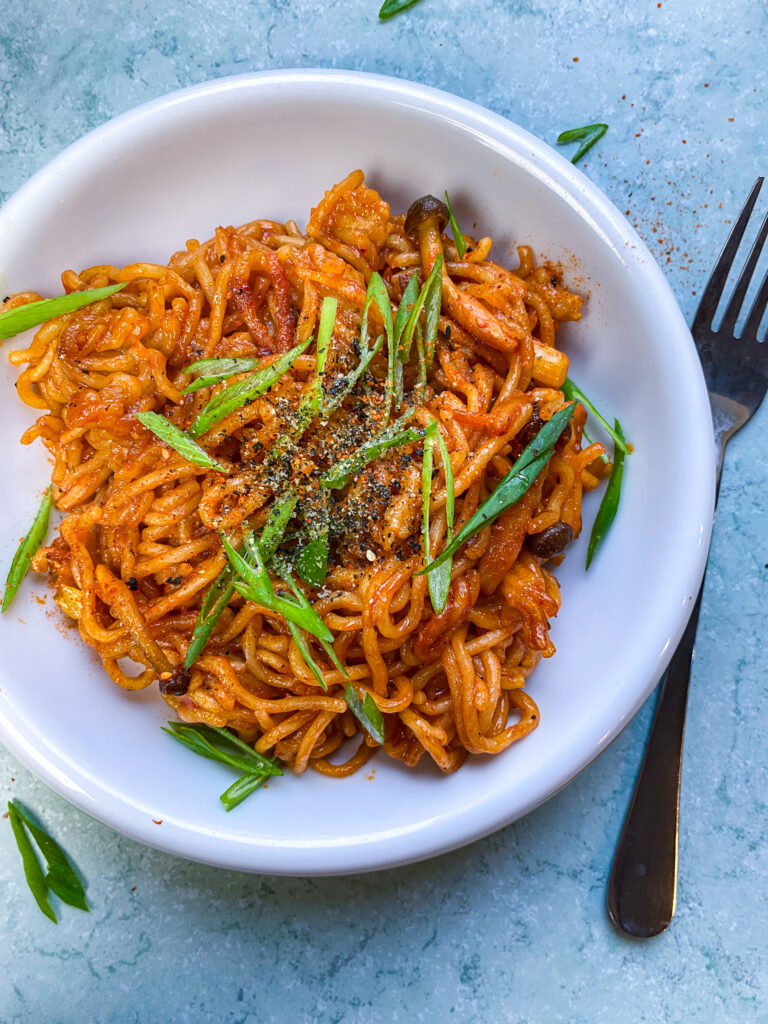
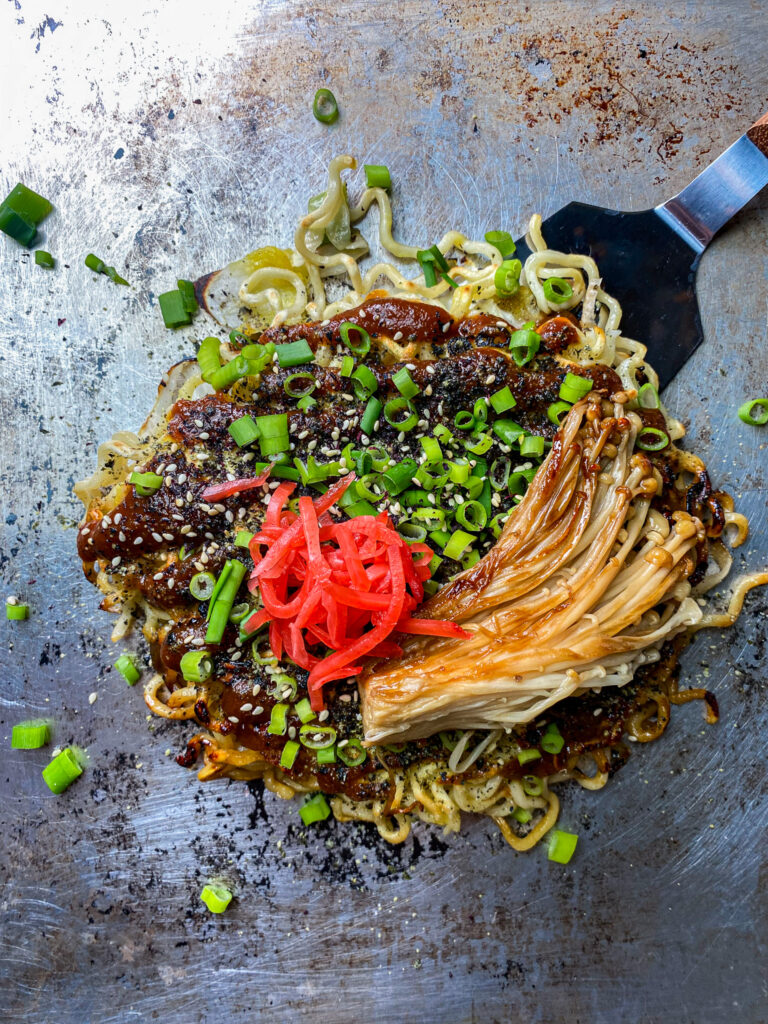
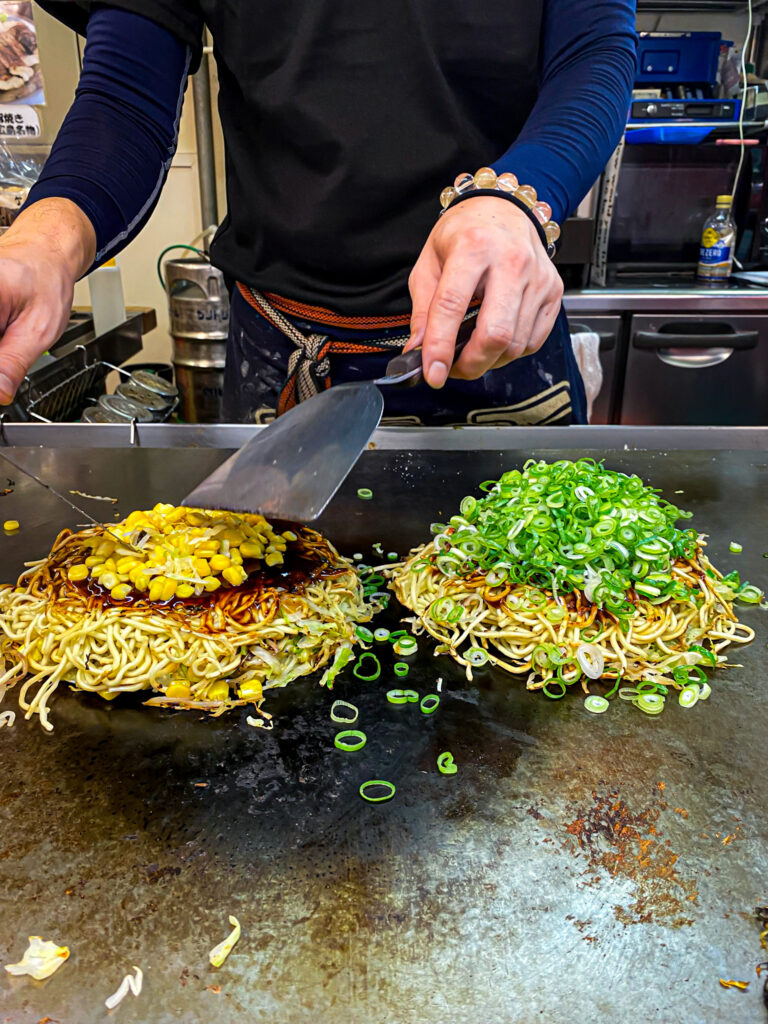
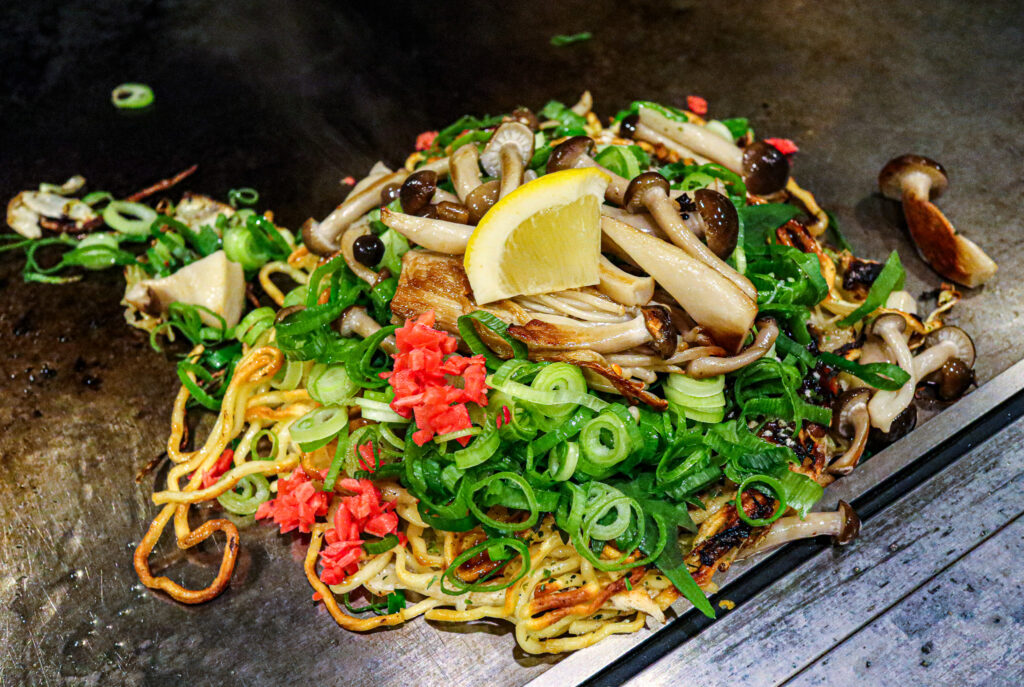
Try cooking up a batch of fresh udon noodles and use them for Kake Udon, Yaki Udon, or Boro Udon – all recipes featured in my new JAPAN cookbook and e-book.
Udon
homemade thick wheat noodles
makes 4 portions (ea. 7 oz / 200 g) cooked noodles / time 45 min +
recipe from The Lotus and the Artichoke – JAPAN
(Rezept auf Deutsch unten)
- 4 cups (520 g) flour (all-purpose / type 405) more as needed
- 1 cup (240 ml) warm water
- 1 tsp (5 g) sea salt
- Add flour to a large mixing bowl.
- Stir warm water and salt until it dissolves in a mixing cup.
- Add salt water to flour in 4 to 5 portions, stirring with two chopsticks held together. Knead with your hands about 5 min, adding slightly more flour if the dough is too sticky.
- Put the kneaded dough ball into a large sealable bag. Knead on the floor with your heels for 15–20 min until soft and rubbery. Alternatively, knead the dough with your hands on a floured surface for 15–20 min.
- Seal the bag and let the dough rise for 1–2 hrs in a warm place.
- Dust a clean working surface (e.g. countertop or cutting board) with flour.
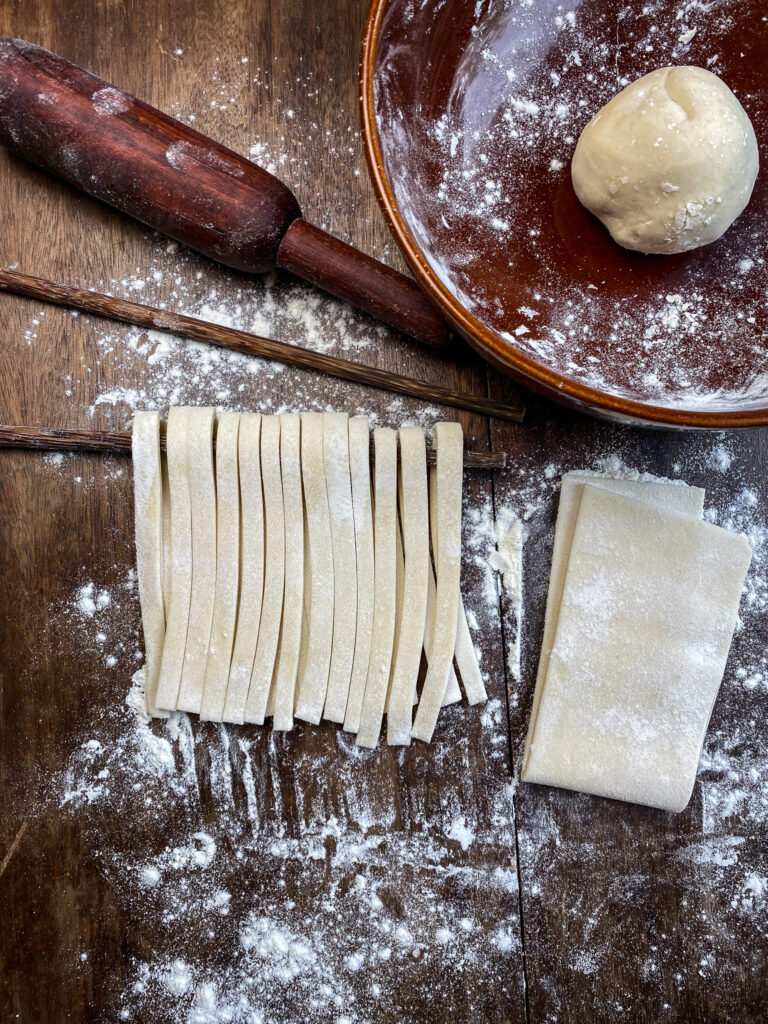
- Separate dough into two balls. Roll out a dough ball to a long rectangle about 1/4 in (5–6 mm) thick.
- Generously dust the flattened rectangle with flour and fold it over onto itself once or twice.
- Cut through the two or three layers with a large, sharp knife in thin strips 1/4 (5–6 mm) wide, the same thickness as the height of a dough layer.
- Repeat for second dough ball, or store it in a sealable container in the fridge (up to 5 days) for another batch of fresh udon noodles later.
- Carefully separate the cut noodles, drape them over a chopstick, shake excess flour off, and hang them over a large bowl.
- Bring a large pot of water to a rapid boil on high heat.
- Add cut noodles to rapidly boiling water and cook until al dente, about 7–10 min.
- Drain cooked udon noodles with a colander. Rinse briefly with running cold water. Drain well. Transfer noodles to a bowl and cover.
- Use for Kake Udon (page 181), Yaki Udon (page 183), and Boro Udon (page 191).

Udon
selbstgemachte dicke Weizennudeln
4 Portionen (je 200 g) gekochte Nudeln / Dauer 45 Min. +
Rezept aus The Lotus and the Artichoke – JAPAN
- 520 g Mehl (Type 405) bei Bedarf mehr
- 1 Tasse (240 ml) warmes Wasser
- 2 TL (8 g) Meersalz
- Mehl in eine große Rührschüssel geben.
- Warmes Wasser und Salz in einem Messbecher verrühren, bis es sich auflöst.
- Nach und nach das Salzwasser zum Mehl geben und es mit zwei zusammengehaltenen Stäbchen unterrühren. Mit den Händen etwa 5 Min. kneten, dabei etwas mehr Mehl hinzufügen, falls der Teig zu klebrig ist.
- Teigkugel in einen großen verschließbaren Plastikbeutel geben. Auf dem Boden mit den Fersen 15 bis 20 Min. durchkneten, bis der Teig weich und elastisch wird. Alternativ den Teig mit den Händen auf einer bemehlten Oberfläche 15 bis 20 Min. kneten.
- Beutel verschließen und den Teig 1 bis 2 Stunden an einem warmen Ort ruhen lassen.
- Eine saubere Arbeitsfläche (z.B. Tischplatte oder großes Schneidebrett) mit Mehl bestäuben.
- Den Teig in zwei Kugeln teilen. Eine Teigkugel zu einem langen Rechteck mit einer Dicke
von 5–6 mm ausrollen. - Das ausgerollte Rechteck großzügig mit Mehl bestäuben und den Teig ein- oder zweimal übereinander schlagen.
- Die zwei oder drei Teigschichten mit einem großen, scharfen Messer in dünne, 5–6 mm breite Streifen schneiden, etwa die gleiche Dicke wie eine Teigschicht.
- Den Vorgang mit der zweiten Teigkugel wiederholen – oder den Teig in einem verschließbaren Behälter im Kühlschrank aufbewahren (bis zu 5 Tage), um später eine weitere Runde frischer
Udon-Nudeln zuzubereiten. - Die geschnittenen Nudeln vorsichtig voneinander trennen, über ein Stäbchen fädeln, überschüssiges Mehl abschütteln und die Nudeln über eine große Schüssel hängen.
- Einen großen Topf mit Wasser auf hoher Flamme zum Kochen bringen.
- Geschnittene Nudeln in das sprudelnd kochende Wasser geben und 7 bis 10 Min. bissfest garen.
- Gekochte Udon-Nudeln in einem Sieb mit kaltem Wasser abspülen. Gut abtropfen lassen. Nudeln in eine Schüssel geben und abdecken.
- Für Kake Udon (Seite 181), Yaki Udon (Seite 183) und Boro Udon (Seite 191) verwenden.